Hair Tutorial: Casual Gibson Tuck
Happy weekend folks! At long last, I have another hair tutorial for you. Allow me to introduce my own version of the popular Gibson (or Hairband) Tuck. I'm still perfecting it (though it's much easier with shorter hair!), and it's a little messier than the usual tuck, mainly because that's just the way my hair is. However, I like the part boho, part early 20th century look. It has old-fashioned charm, while still being casual. :)
You Will Need:
* A comb or brush (or just your fingers, depending on your hair type)
* A headband
* Plenty of pins

1) Unless you have very curly hair, comb your locks so that there are no tangles.

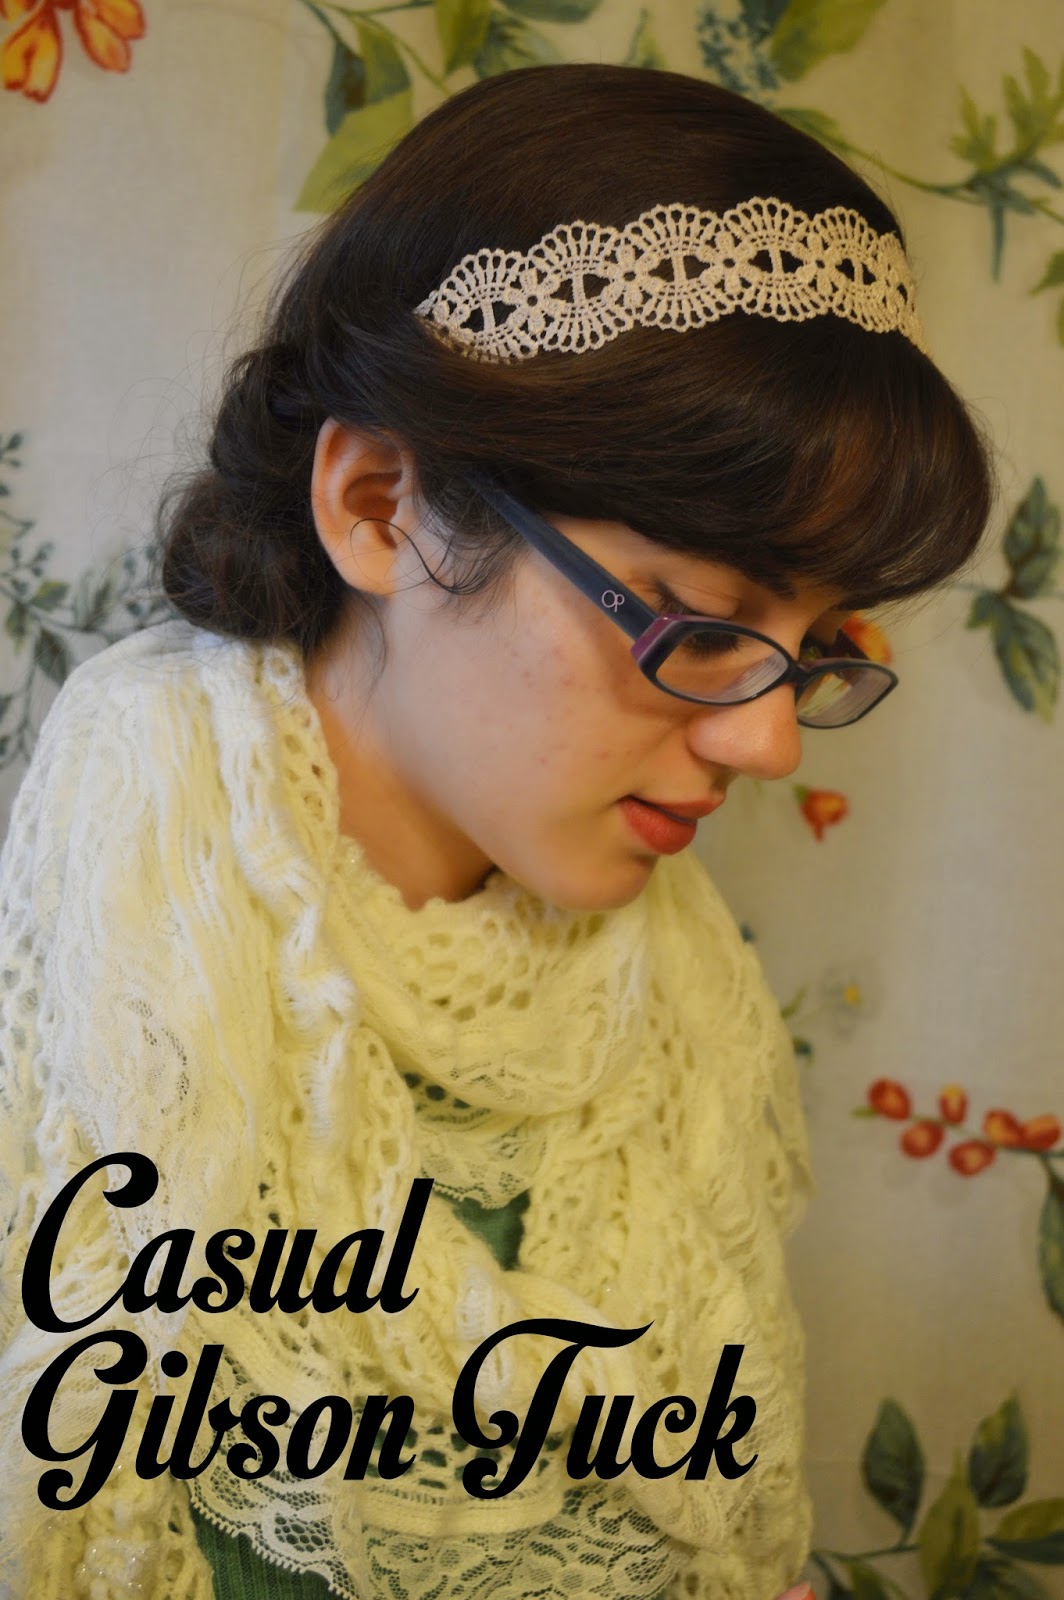
2) Now place the hairband *over* your hair instead of *under* it. Let some hair flop over your ears.Smooth down any wayward strands on the back of your head.

3) Pull out a section of about 1" of hair from above your ear.

4) Tuck this section underneath the hairband and pull in through.
Note: I pulled the sections of my hair all the way through so that the ends hang with the rest of my hair. This is where my tutorial differs from others. Most of them just tuck and don't pull through all the way, creating a loop of hair underneath with the ends still poking up through the top. It's entirely up to you. My hair is fine and slippery, so I think it was easier to keep in place this way.

5) Now take a larger section of hair from behind your ear.

6) Tuck it beneath the headband and pull through, just as you did the first section. This creates a little loop or "tunnel" of hair. Don't pull too tightly, or you won't have as much volume to your loop.

7) Pin the loop in place however you wish. I put my pin in sideways. Continue to section out hair, tuck it, pull in through, and pin it until...

8 )...you reach the the other side of your head. My hair was already partitioned into two sections - one went over my ear and one was the ends of my last loop. If yours doesn't already have these two segments, adjust it so that it does.

9) Pull through a 1" section of hair from above your ear, as you did in step 2.

10) Incorporate the end of the "ear section" into the other section and continue pinning and tucking until all your hair is up. I ended up with a bit of a confusing mess at this point, so I apologize for the lack of explanation for finishing the tuck. To cover up the trouble spot, I took a segment of the last complete loop of hair and pulled it over the little mess.

11) Pin up any stray pieces, tighten floppy loops and adjust to your heart's content until you're finished! Mine was far from being a perfect shape, but it had a fun, casual look to it.

And there you have my version of the Gibson tuck! I hope that you all enjoyed this tutorial. Please share any questions or comments below.
Have a simply lovely weekend! :)
But the very hairs of your head are all numbered. Do not fear therefore; you are of more value than many sparrows.
Luke 12:7


Very lovely hairstyle, Paige!
ReplyDeleteThank you Bethany! :D
DeleteI'll have to try this! It looks like it would be great for my length of hair. I've tried doing a Gibson tuck before, and it's becoming a favorite easy hairstyle for me.
ReplyDeleteYay! Sounds good. :)
Deletenice girl of God...very pretty
ReplyDeleteThank you! :)
Delete